
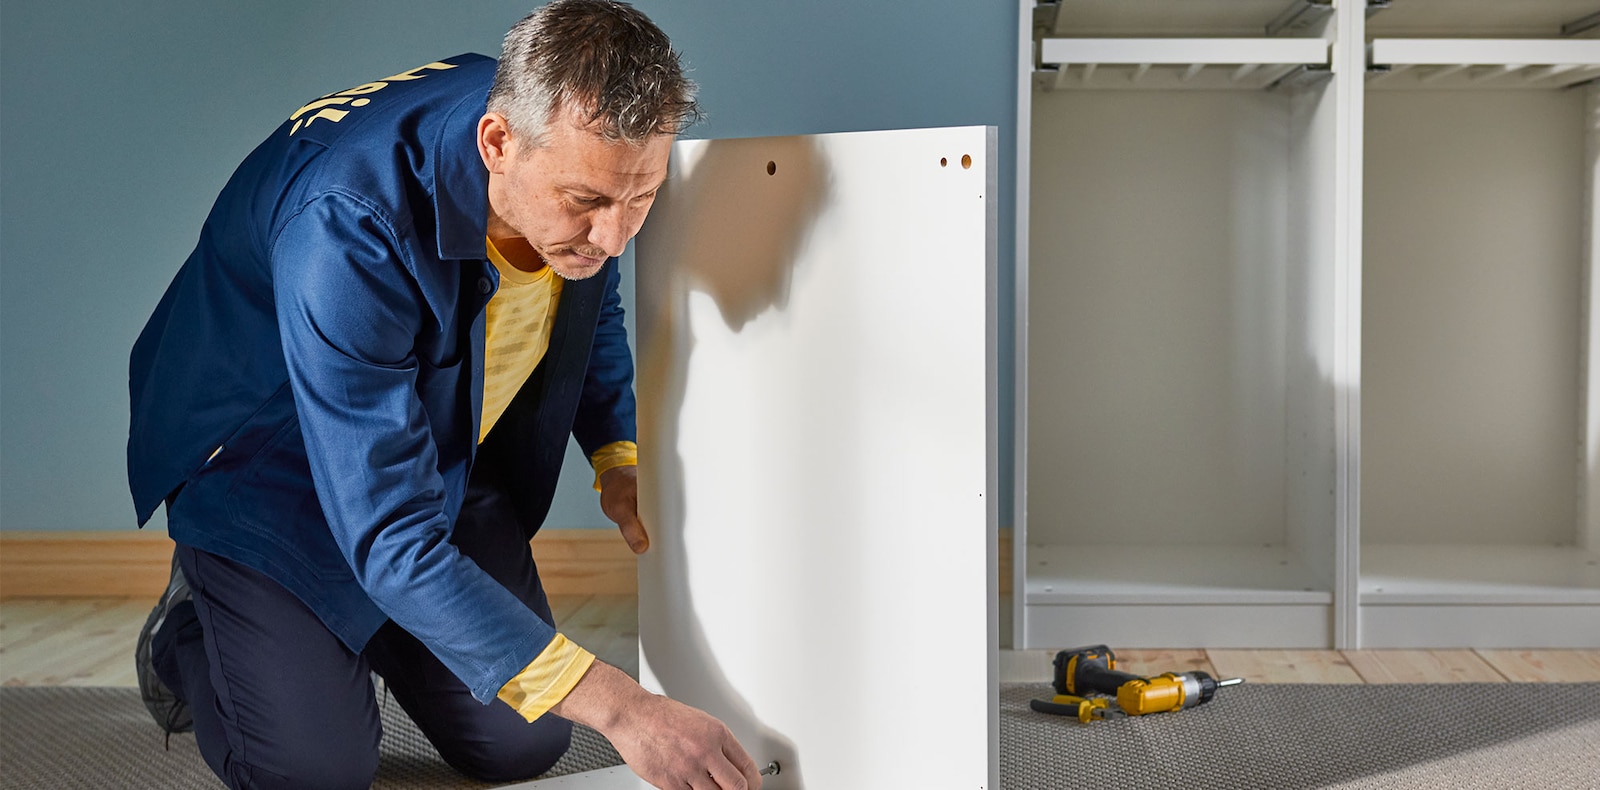
IKEA bed assembly tips (quick wins)
This ikea bed assembly checklist helps you avoid common mistakes and finish faster.
If it’s your first ikea bed assembly, lay out hardware by type and follow the sequence below.
- Hand-tighten, then fully tighten at the end of the ikea bed assembly process.
- Square the frame before locking brackets to keep your ikea bed assembly squeak-free.
- Mark left/right rails to streamline ikea bed assembly and reduce rework.
Why SKORVA matters for ikea bed assembly
The SKORVA midbeam prevents sagging and keeps alignment during ikea bed assembly.
Adjust the center foot so it just kisses the floor for a stable ikea bed assembly.
After your ikea bed assembly
Press each corner and listen for noise. If needed, re-align brackets and retighten — a quick pass that protects your ikea bed assembly from future squeaks.
Need the midbeam?
Get the SKORVA center support beam (galvanized)
for a stable, long-lasting bed — it’s the core part most ikea bed assembly setups rely on.
You can also review answers in our
SKORVA FAQ or browse IKEA spare parts.
References for ikea bed assembly:
Official IKEA assembly instructions ·
What is a hex key?
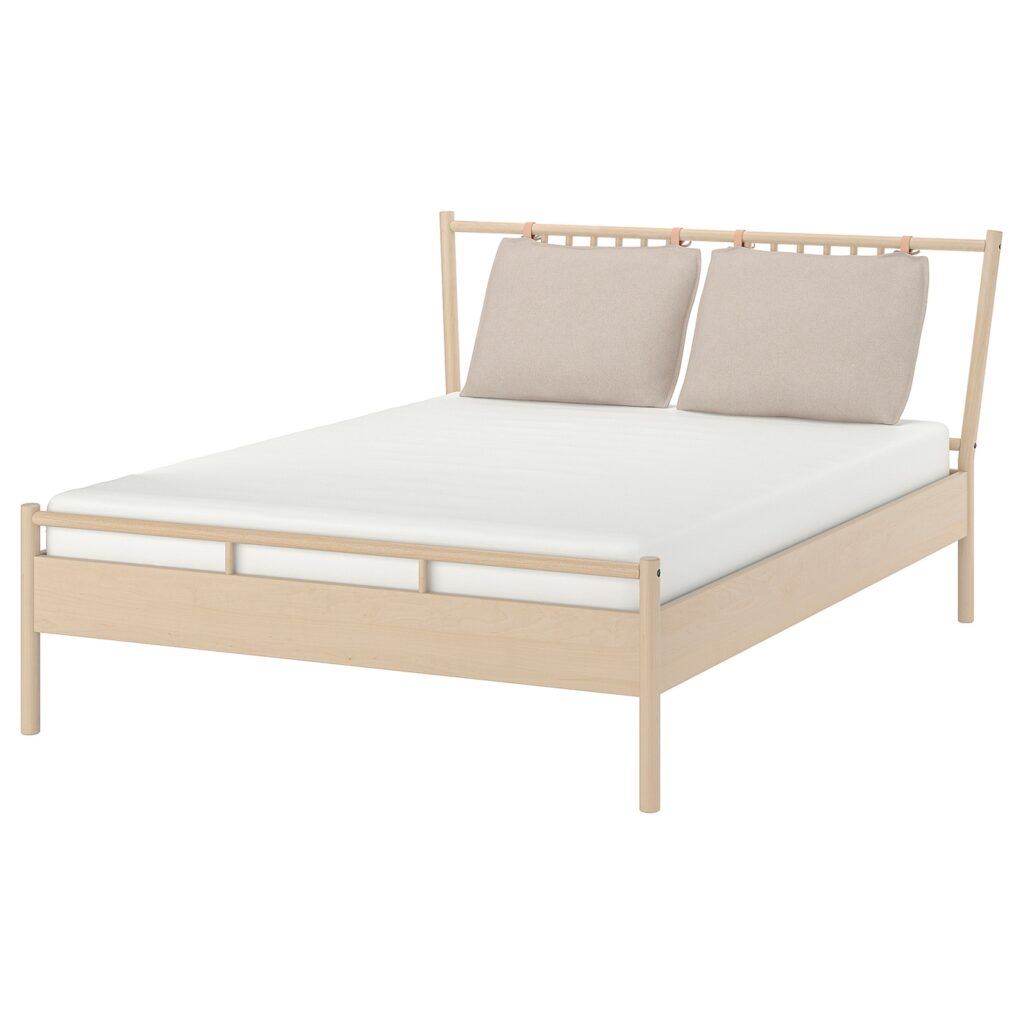
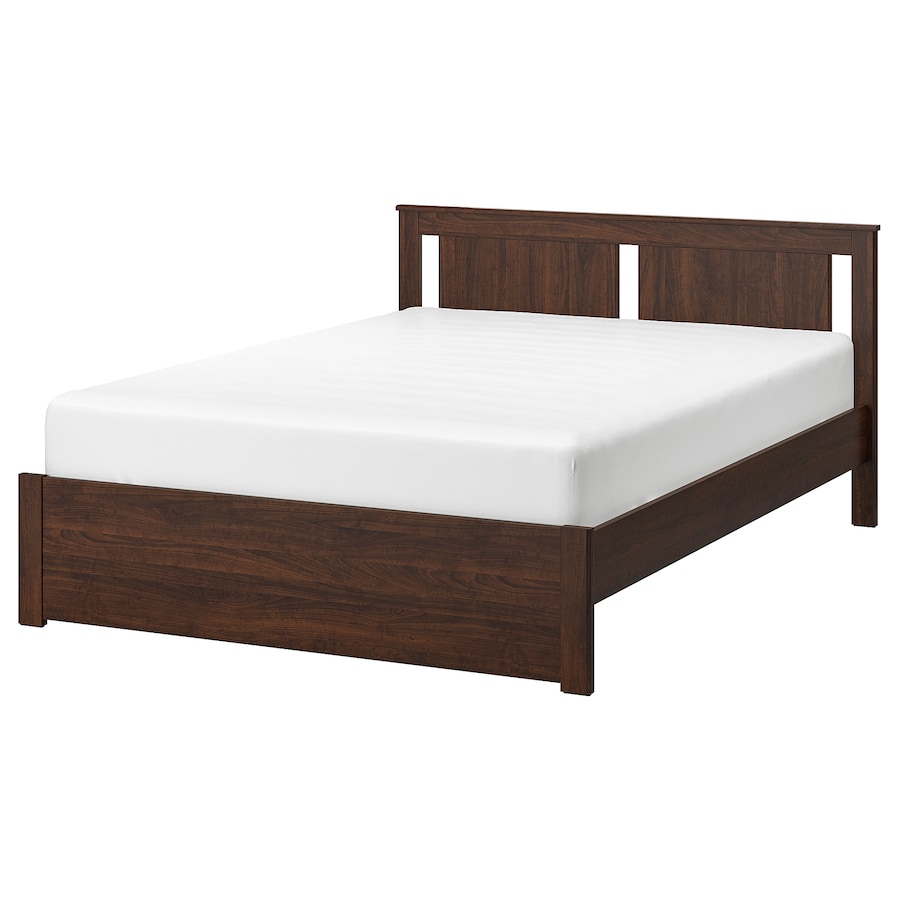
1. BJÖRKSNÄS Bed Frame (Queen, King)
- Frame Assembly:
- Assemble the headboard and footboard using provided screws.
- Attach the side rails to the headboard and footboard using dowels and screws.
- SKORVA Midbeam Installation:
- Slide SKORVA into the slots on the side rails.
- Secure the midbeam using the provided screws or clips to prevent wobbling.
- Instruction Manual: Download BJÖRKSNÄS Manual
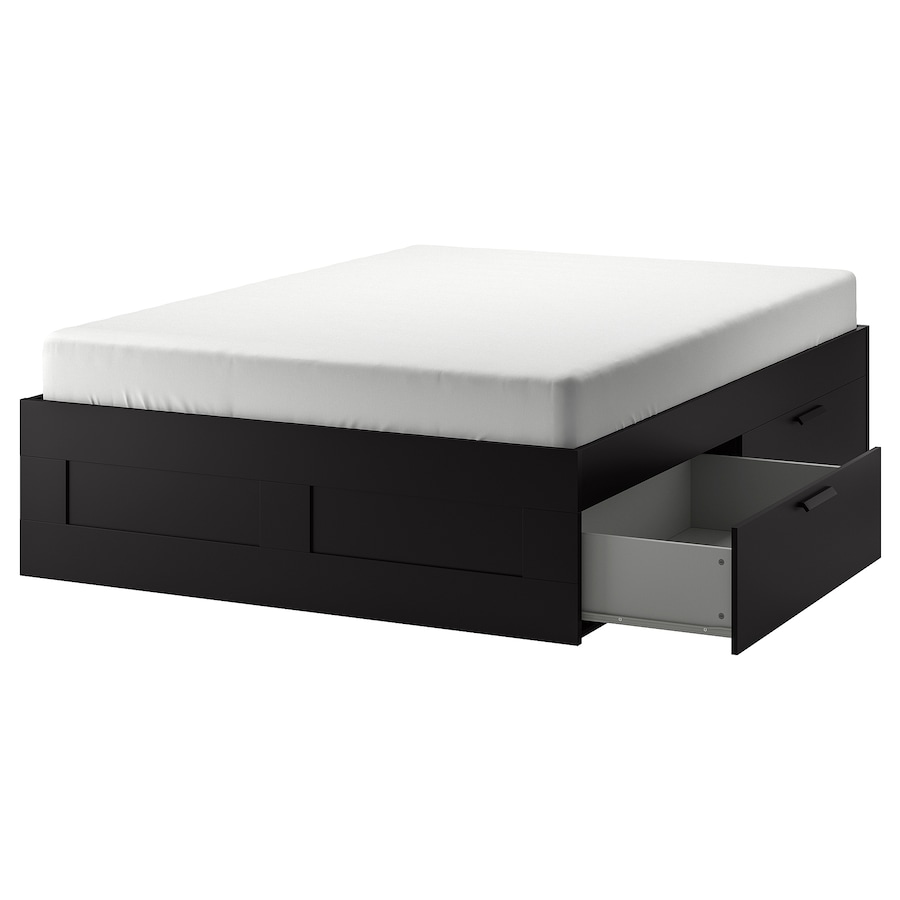
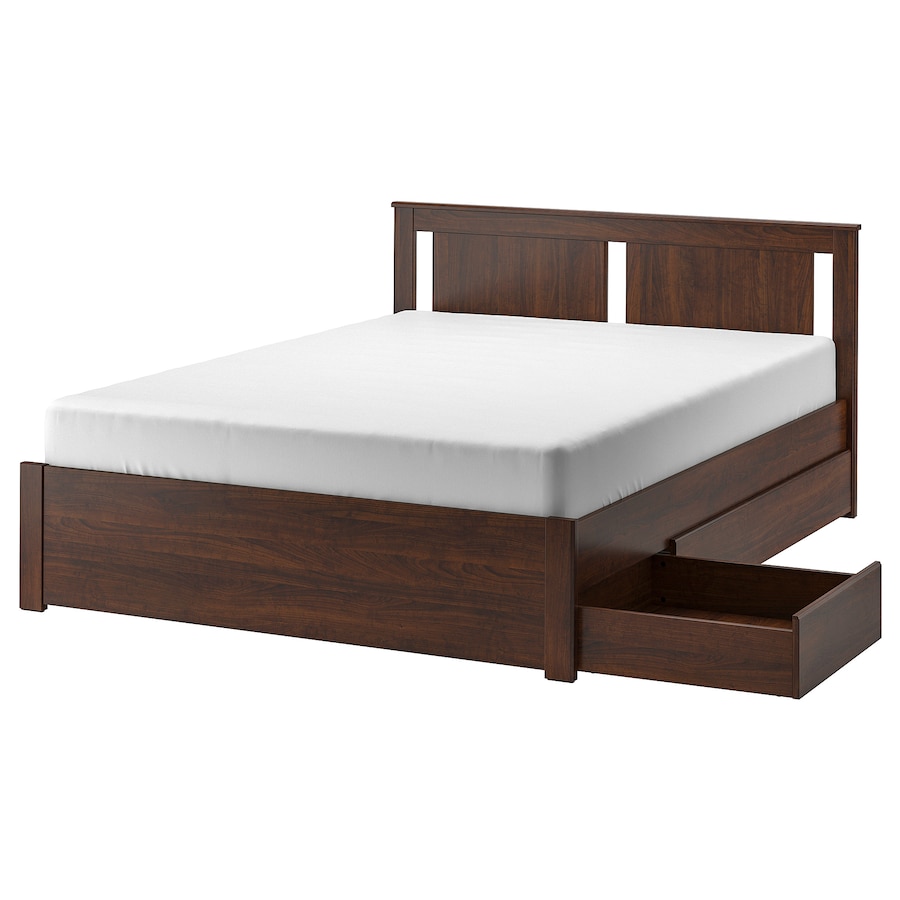
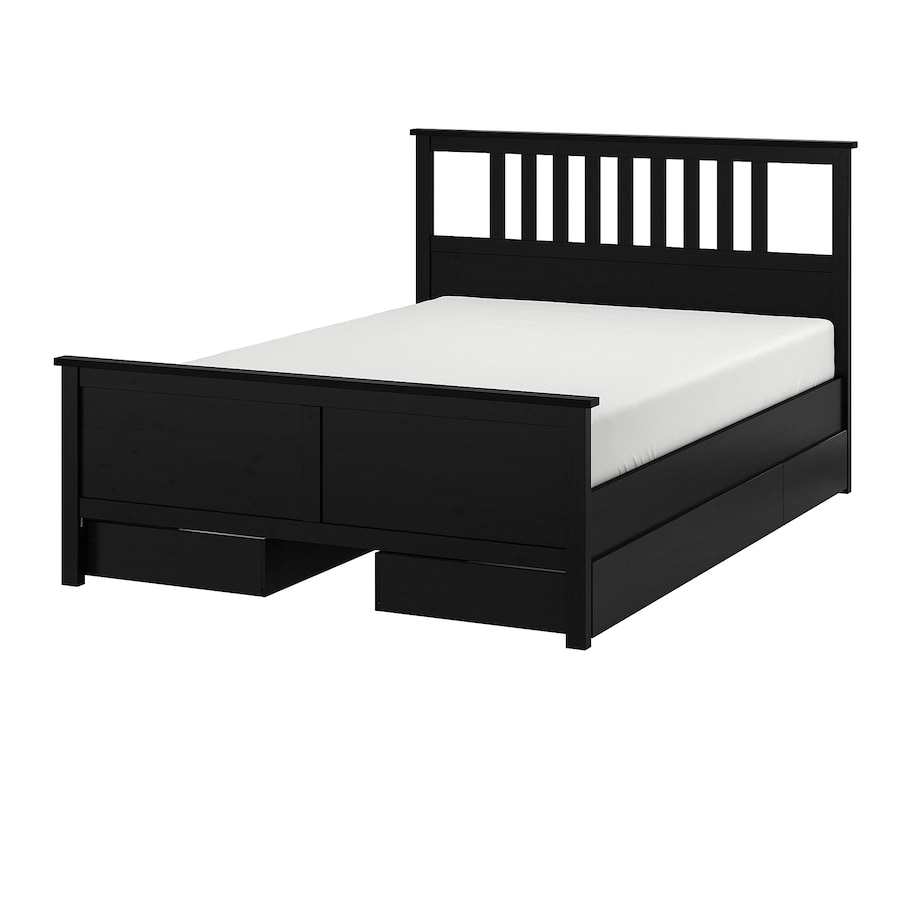
2. BRIMNES Bed Frame with Four Storage Drawers (Full, Queen, King)
- Frame Assembly:
- Attach the headboard and footboard to the side panels.
- Assemble the storage drawers by attaching rails and brackets.
- Position the storage compartments under the frame.
- SKORVA Midbeam Installation:
- Place SKORVA in the designated brackets and tighten screws.
- Ensure alignment with storage components for optimal support.
- Instruction Manual: Download BRIMNES Manual
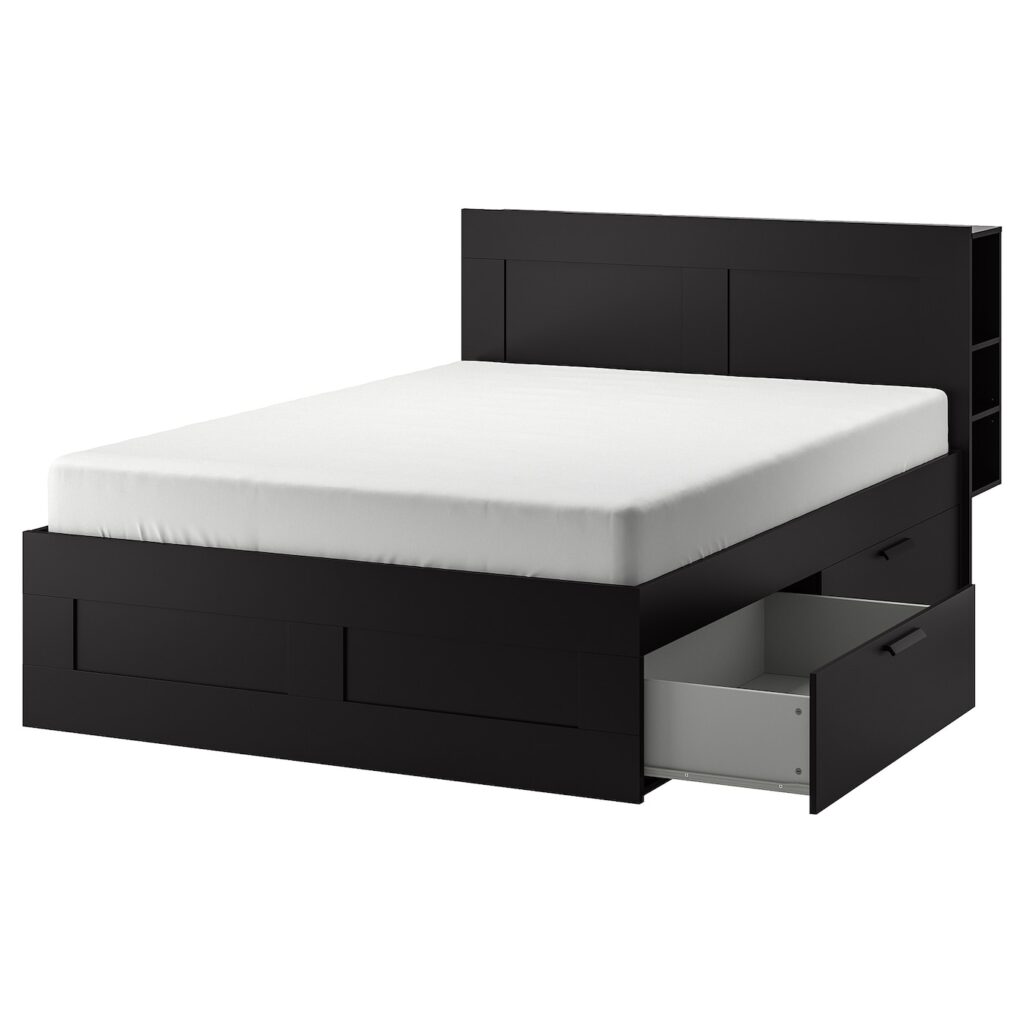
3. BRIMNES Bed Frame with Storage and Headboard (Full, Queen, King)
- Frame and Headboard Assembly:
- Attach the headboard to the frame using screws and alignment tools.
- Secure side rails to the footboard and headboard.
- SKORVA Midbeam Installation:
- Slide SKORVA into the central brackets between the side rails.
- Tighten with screws to ensure stability.
- Instruction Manual: Download BRIMNES with Storage Manual
4. SONGESAND Bed Frame (Twin, Full, Queen)
- Frame Assembly:
- Attach the headboard and footboard to the side panels.
- Secure all corners using screws.
- SKORVA Midbeam Installation:
- Place SKORVA in the central slots of the side panels.
- Secure with the provided screws.
- Instruction Manual: Download SONGESAND Manual
5. SONGESAND Bed Frame with Two/Four Drawers (Twin, Full, Queen)
- Frame Assembly:
- Follow the SONGESAND frame steps above.
- Assemble storage drawers and attach to the frame base.
- SKORVA Midbeam Installation:
- Ensure the midbeam aligns with the storage drawers and the frame.
- Secure it with screws or clips.
- Instruction Manual: Download SONGESAND with Drawers Manual
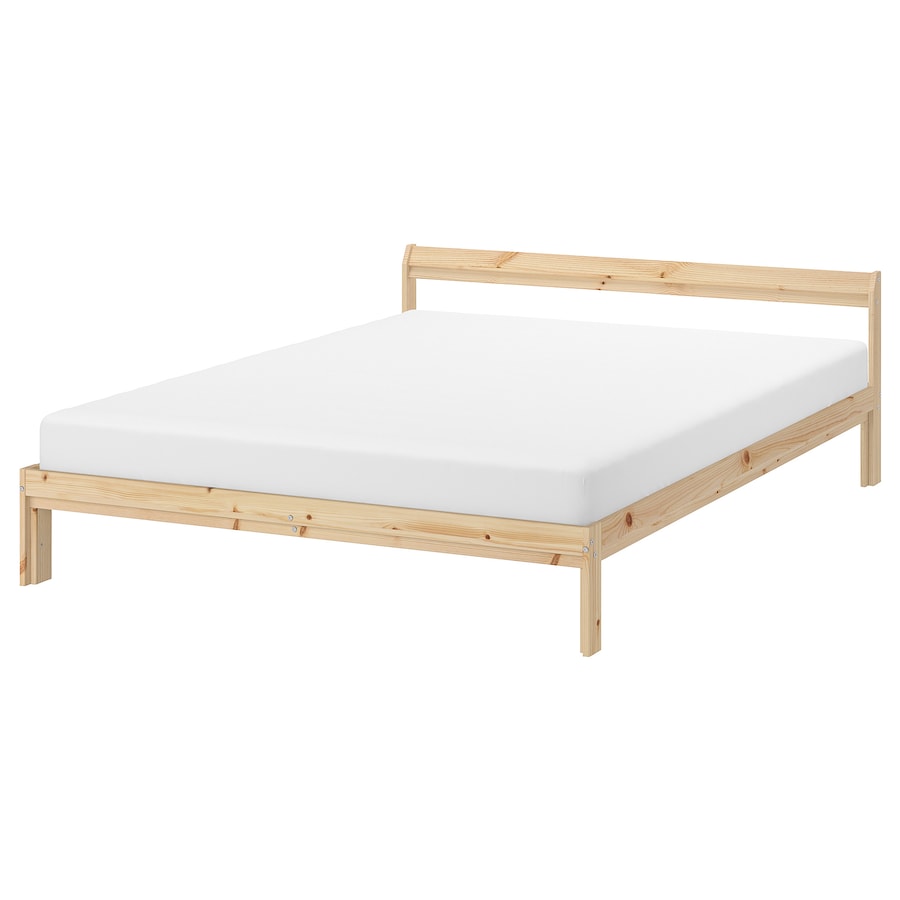
6. NEIDEN Bed Frame (Twin, Full)
- Frame Assembly:
- Secure the simple pine side rails to the headboard and footboard.
- SKORVA Midbeam Installation:
- Slide SKORVA into position and secure using the provided hardware.
- Instruction Manual: Download NEIDEN Manual
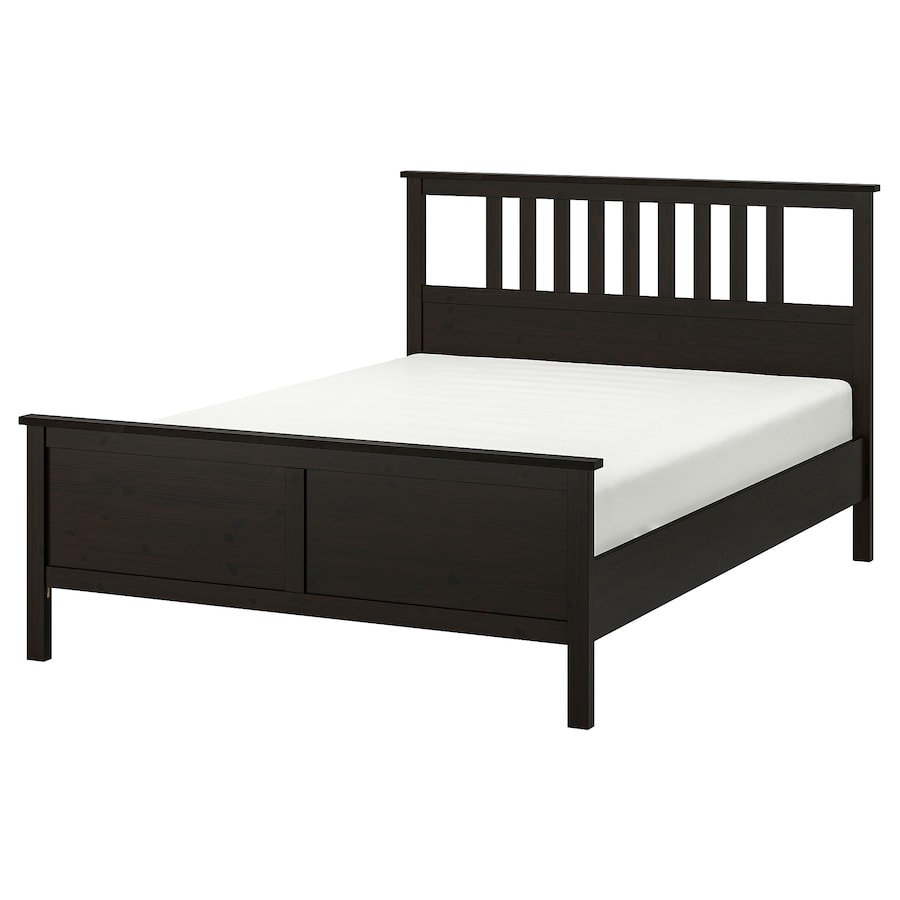
7. HEMNES Bed Frame (Twin, Full, Queen, King)
- Frame Assembly:
- Assemble the solid pine side rails, headboard, and footboard.
- SKORVA Midbeam Installation:
- Place SKORVA into the central slots.
- Tighten screws to stabilize.
- Instruction Manual: Download HEMNES Manual
8. HEMNES Bed Frame with Four Storage Drawers (Twin, Full, Queen, King)
- Frame and Drawer Assembly:
- Attach the storage brackets to the frame.
- Assemble drawers and slide them into position.
- SKORVA Midbeam Installation:
- Install SKORVA after ensuring storage alignment.
- Instruction Manual: Download HEMNES with Drawers Manual
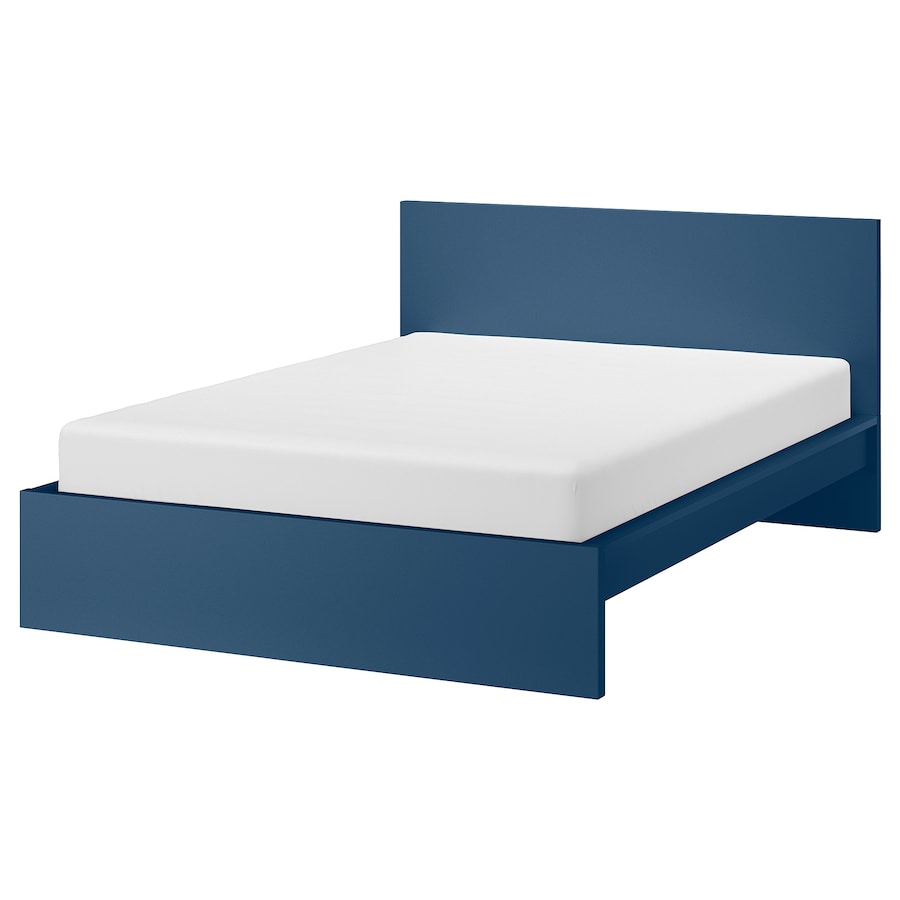
9. MALM Bed Frame (Twin, Full, Queen, King)
- Frame Assembly:
- Secure the veneer side rails to the headboard and footboard.
- SKORVA Midbeam Installation:
- Slide SKORVA into the side rail brackets.
- Tighten screws.
- Instruction Manual: Download MALM Manual
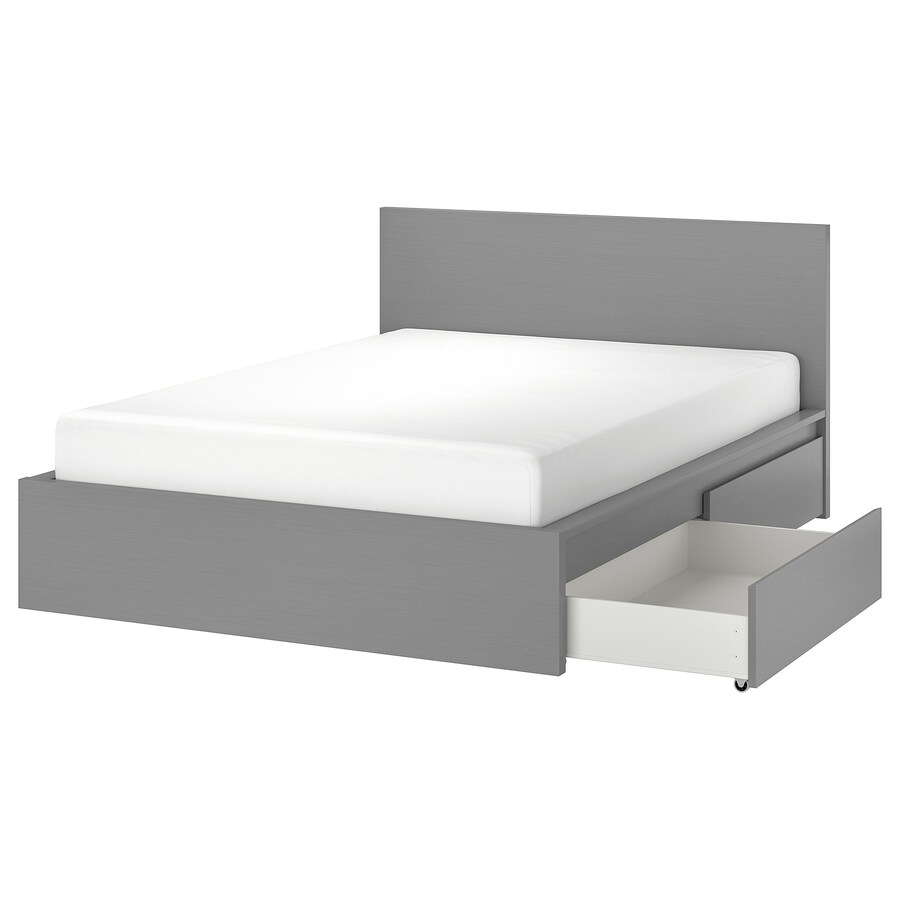
10. MALM Bed Frame with Four Storage Drawers (Twin, Full, Queen, King)
- Frame and Drawer Assembly:
- Assemble the under-bed drawers and attach them to the base.
- SKORVA Midbeam Installation:
- Align SKORVA with the storage brackets and secure.
- Instruction Manual: Download MALM with Drawers Manual
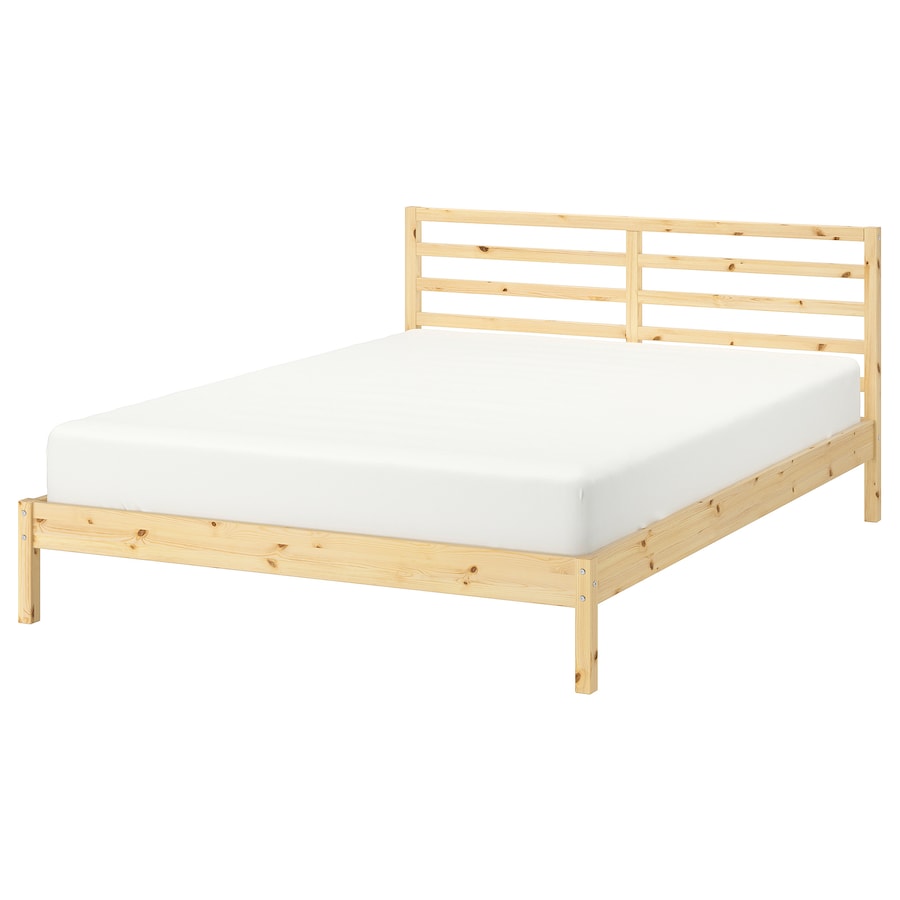
11. TARVA Bed Frame (Twin, Full, Queen, King)
- Frame Assembly:
- Attach the unfinished pine side rails to the headboard and footboard.
- SKORVA Midbeam Installation:
- Secure SKORVA using the included screws.
- Instruction Manual: Download TARVA Manual
12. YTTERVÅG Four-Poster Bed Frame (Queen, King)
- Frame Assembly:
- Assemble the four-poster corner posts and secure to the side panels.
- SKORVA Midbeam Installation:
- Install SKORVA in the pre-drilled slots and secure.
- Instruction Manual: Download YTTERVÅG Manual

13. IDANÄS Bed Frame (Twin, Full/Double, Queen, King)
- Frame Assembly:
- Assemble the frame using screws for the headboard, footboard, and rails.
- SKORVA Midbeam Installation:
- Align SKORVA in the pre-attached brackets and secure.
- Instruction Manual: Download IDANÄS Manual
14. IDANÄS Bed Frame with Storage (Twin, Full/Double, Queen, King)
- Frame and Storage Assembly:
- Assemble the frame and attach storage compartments.
- SKORVA Midbeam Installation:
- Slide SKORVA into position and secure.
- Instruction Manual: Download IDANÄS with Storage Manual

3. Install the SKORVA Midbeam
For all models requiring the SKORVA midbeam:
Locate the brackets on the side rails.
Slide the SKORVA beam into place.
Tighten the screws or clips to secure the beam, ensuring it is stable.
4. Attach the Slatted Bed Base
Lay the LURÖY or LÖNSET slatted base over the SKORVA beam.
Fasten the slats to the bed frame, following the alignment instructions in the manual.
5. Finalize Assembly
Verify that all screws and components are secure.
Attach any additional features, such as storage drawers or headboard shelves, as per your bed frame model.
Tips and Warnings:
Tips:
Organize all screws and parts before starting to avoid confusion.
Enlist a second person for larger bed frames, such as King size, to ensure safety during assembly.
Use a soft mallet to gently adjust parts into place without damaging the wood or veneer.
Warnings:
Avoid overtightening screws, as this can strip the threading or damage the wood.
Ensure the SKORVA midbeam is properly secured to prevent structural instability.
Keep small parts and tools out of reach of children during assembly.
Conclusion: Congratulations on successfully assembling your IKEA bed frame! This guide is designed to make the process straightforward and stress-free. If you encounter any challenges or need further assistance, feel free to reach out to SKORVA’s support team or CONTACT US for help. Enjoy your new bed and a good night’s sleep!